How Can We Help?
XenForo
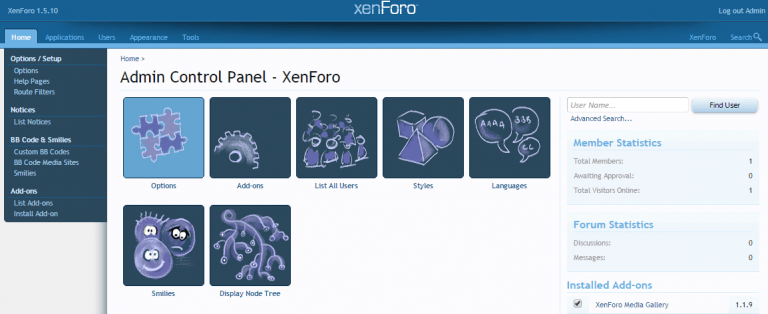
Immediately after installation, XenForo will be able to send email on most servers using PHP’s default mailing settings. However, if you wish to control more aspects of the mail sent by XenForo, log into your admin control panel, go to Options and into the Email Options group.
To configure SMTP on Xenforo, simply log into your admin control panel, go to Options and into the Email Options group. We have provided a step-by-step guide to configure Xenforo for Mail250.
Step 1
Create an account on Mail250. Go to “Manage Sending Domain” and “Add” your sender domain. This is the domain which system is going to use as sender while sending any type of email communication to your community members. The domain needs to be verified, authenticated (using SPF) and approved before proceeding to further steps.
Step 2
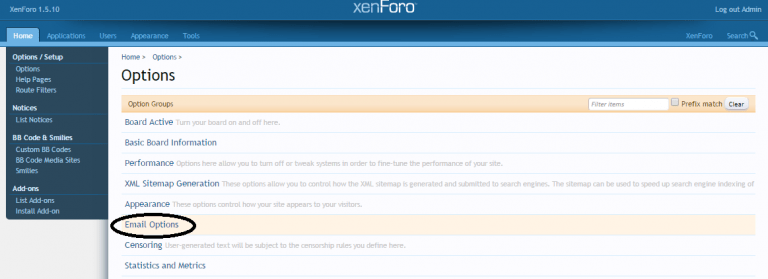
Log into your Xenforo admin control panel, go to Options > Email Options group.
Step 3
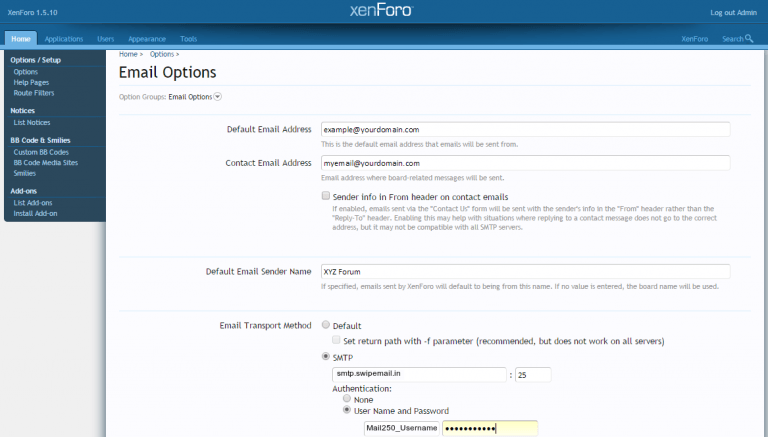
Now, you are on the Email Options page. It’s time to set up your sending email address. That is the email address which will appear as SENDER when someone receives your email. Please follow the below instructions to set up the Sending domain parameters:
Default Email Address: This is the default email address that emails will be sent from. It should not be an ISP’s domain like @gmail.com or @yahoo.com. This should be an email address which relates to your own domain e.g. admin@xenforo.com
Note: The sender domain should be configured and verified on Mail250. You will be unable to send emails except the sending domain is verified and approved on your Mail250 panel.
Contact Email Address: Email address where board-related messages will be sent. Keep this unchecked as it is not supported by many SMTP providers.
Default Email Sender Name: If specified, emails sent by XenForo will default to being from this name. If no value is entered, the board name will be used. Ideally, it is a good practice to have a board name in the default sender name.
Email Transport Method: Select the “SMTP” radio button and enter the following details:
- Host: smtp.swipemail.in
- Port: Port can be 25 or 2525. Most of the shared hosting providers block these ports to protect their network from spamming. If your emails are not getting delivered, then try contacting your hosting provider to unblock these ports for outgoing SMTP connection.
- Authentication: Select the radio button as “User Nameand Password” and enter your Mail250’s username and SMTP password.
Encryption: You can choose anything based on your requirement. But, to avoid any integration related challenges it is suggested to keep it None.
Once all the parameters are set, click on “Save Changes” and you are done.